
Bubbler Water Features for Birds - Part One - Bubbler Pond and Basin

Back in May, I wrote on Simple Ways to Add Moving Water for Birds. It included a brief mention of our Bubbler along with a small fountain and a dripper on a birdbath.
http://hummerhavenunltd.com/blog/2016/5/simple-ways-to-add-moving-water-for-birds
It is time for a few more details on our Bubbler Pond, but before I start, the first concern before adding a Bubbler to your yard must be the health and safety of people and birds near your water feature. Please review this list of considerations in planning your Bubbler!
1. GFCI electrical outlets for the pump and heater need to be installed by a properly licensed electrician. This will protect anyone near the water from electrical shock. It is not safe to use extension cords! Check local codes regarding approved installation. The cords on the pump and heater are usually ten feet long, so placement of the electrical service will have to be carefully planned to be near the pond.
2. It is critical that no chemicals, herbicides, pesticides or fertilizers are used near the water feature. The overspray or run-off could enter the water and cause harm to the birds and other wildlife.
3. It is also important to keep the water feature clean and the pond (reservoir) topped off throughout the year with fresh water. Even in winter, water evaporates and low water levels can cause problems with the pump.
4. Carefully consider the site where the Bubbler Pond will be placed.
a. It should be in an area that is preferably shaded with small trees and shrubs nearby. The plants will give protection to the birds if they must fly quickly to cover. If you are planning a new area for a Bubbler with plants surrounding it, that idea will work, it just may take some time for the birds to get comfortable.
b. The Bubbler pond should be installed so that rainwater run-off will be diverted around it and not into it.
c. The Bubbler should be easily viewed from a favorite window. Proper placement will give many hours of enjoyment watching the bird activity!
5. Maintenance will be required on a regular basis to keep the Bubbler area clean and functional.
a. It is a good idea to hose off the surrounding rocks to clean off any bird droppings. This may need to be done a few times a week up to twice a day depending on the activity.
b. Leaves will need to be cleaned out of the pond and basin areas so the birds can come in and to keep debris from accumulating in the pond.
c. The filter will need to be cleaned on a bi-weekly to monthly basis as needed. Bird activity will slow down if it is not clean! We use hydrogen peroxide to help disinfect the water and powdered hydrogen peroxide (Green Clean) to control string algae in spring and fall.
Overview: Our Bubbler Pond for Birds
It was April of 2000- the foundation was being dug for our breakfast room addition, and the perfect Bubbler Rock was unearthed. It was smooth enough, large enough, and had a very nice groove in it that ran off to one side, just right for a waterfall effect. It was October when we began the installation of the pond.
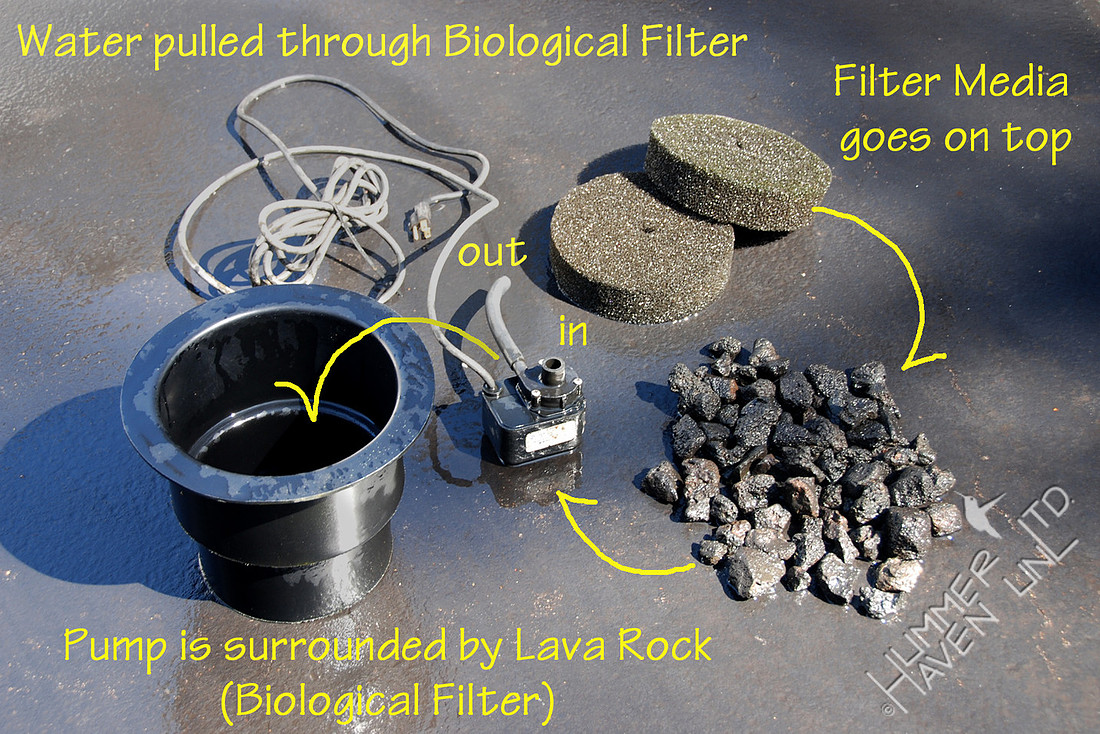
During the remodeling, an extra electrical line was run out to the approximate area where we would be putting the pond in, for the pump and heater. We moved the rock to the desired position by the caveman method, with 2x4’s and rocks. We purchased a 100 gallon preformed pond by MacCourt, the “Madeira”. Dan dug the hole and leveled up the pond in a bed of sand. We then rented a large hammer drill with a 5/8” masonry bit that was 16” long to drill through the rock. We purchased a recirculating pump and a mechanical/biological filtration setup, and filled the pond. The water is pulled into the pump through the filtration material, then back out through the tubing where we put in a “T”. This allowed half the water to pump up through the rock and bubble on top of the rock, and then trickle down the ‘waterfall groove’. The other half recirculated in the pond. (We added a basin off to one side a few years later and the "T" was used for an additional Bubbler Rock there.) We also bought a floating trough heater/de-icer to use through the winter to keep the surface water from freezing over.
On October 25, 2000, the bubbler was fully functional. I set the stage early that morning, hosing off the rocks, and sprinkling the blackhaw viburnum leaves. It seemed to add to the invitation to come, drink and bathe! Birds did come down and we saw many species at the Bubbler in those first few years.
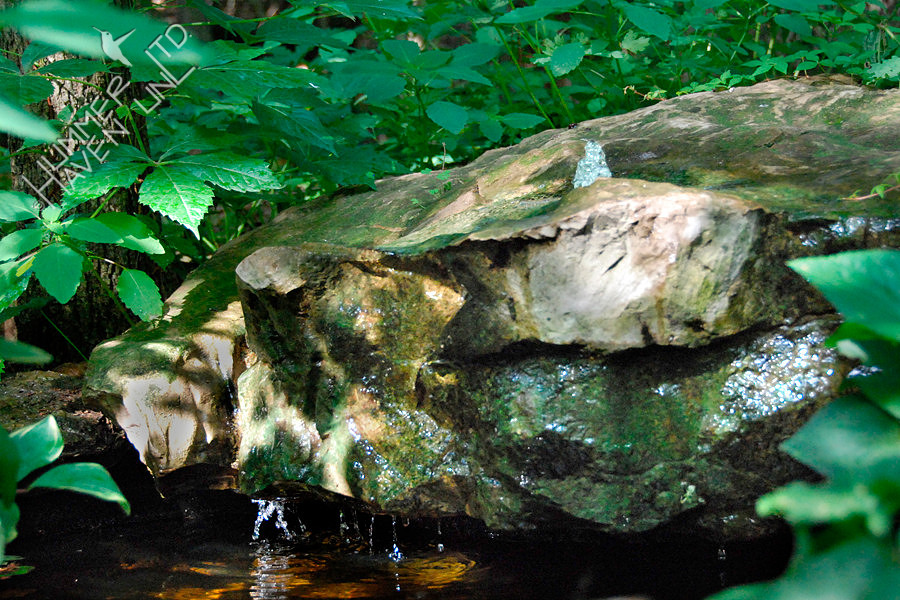

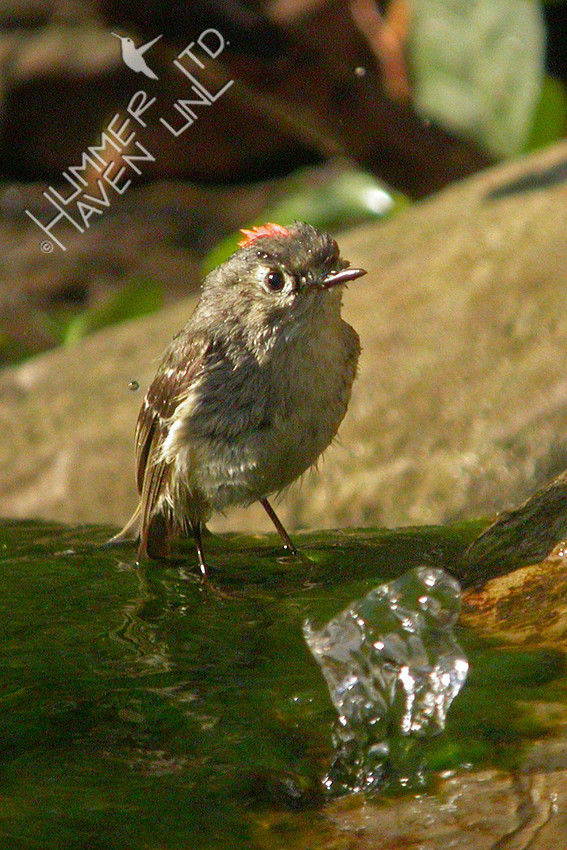
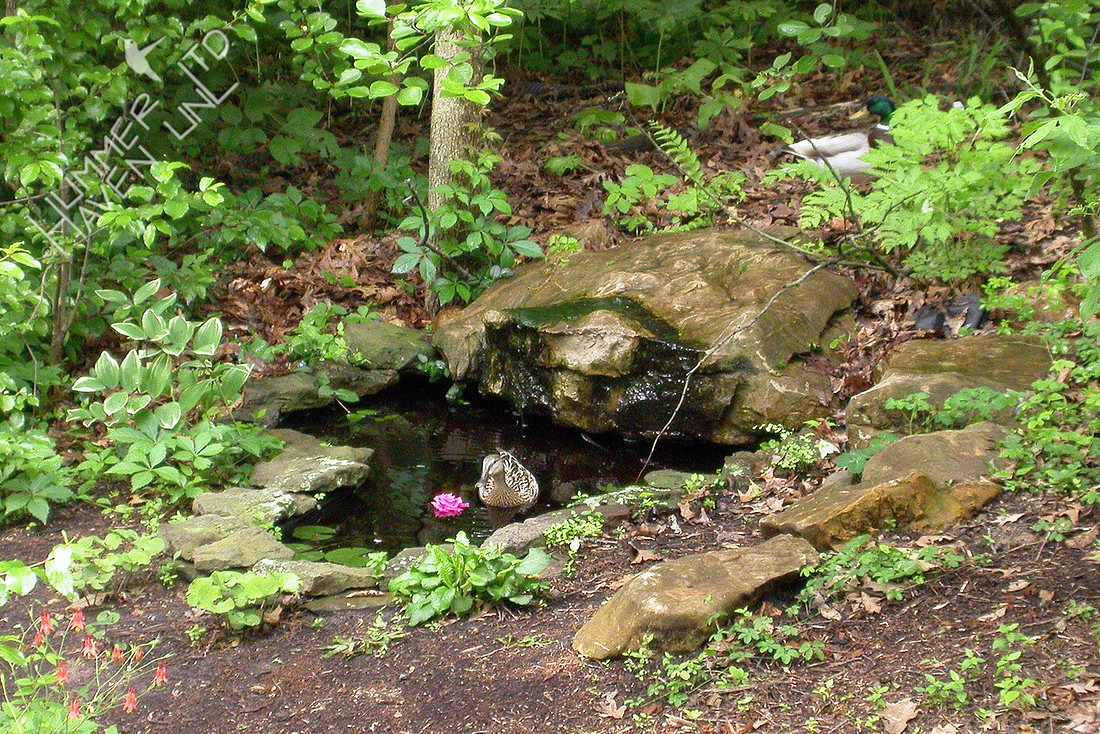
Here are some photos from the early days with a Ruby-crowned Kinglet at the 'Bubble' on the Bubbler Rock and a Mallard pair investigating the pond.
Here is a two-dimensional diagram showing the basic components.

In spring of 2004, we added a basin off to the side for more room for birds to bathe. The "T" was used for additional tubing that pushes water through this second Bubbler Rock. The original graveled basin area was approximately 15" x 18" x 2" deep. The gravel helps the birds see the bottom of the basin. Birds don't have very good depth perception and 2" - 2 1/2" is the maximum water depth needed for them to bathe safely.

Here is a Magnolia Warbler on the Bubbler Rock with 3 Tennessee Warblers behind it in the Basin. Birds are quick to use both areas.

This photo shows the different parts in winter. The total area taken up by the pond, basin and rocks is roughly ten feet in diameter.

One more change was made in November, 2011 when we enlarged the basin area using some leftover Pond Liner from the Pondless Bubbler Project. (More on that in the next post.)
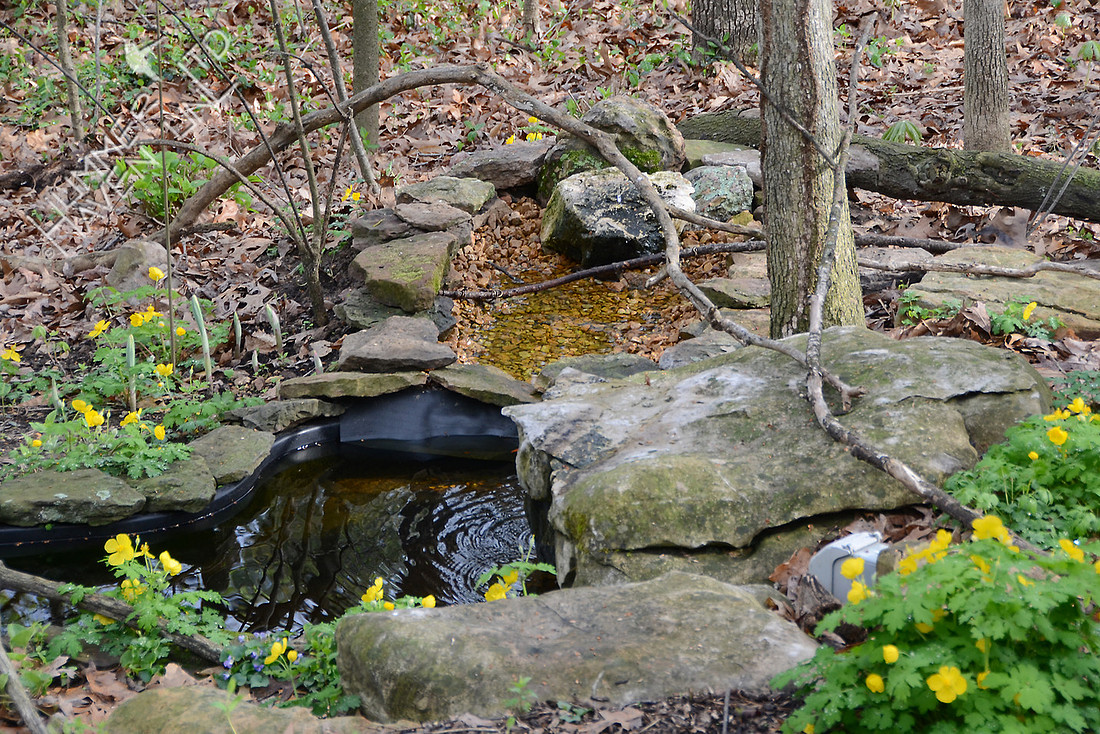
The Bubbler Basin is now 18" x 24" which is over half again as large as the original area. It is the same 2" - 2 1/2" depth as the original basin. This "bird's eye view" gives an idea of how the birds approach the water using the stepped perches.

This front view should help to guide in the placement of various sized branches for various sized birds.

The encircled areas show small puddles of different depths. A branch across the width of the basin is a perch but also a divider of sorts for smaller birds to come in and feel safe behind larger birds that may be in the front areas.
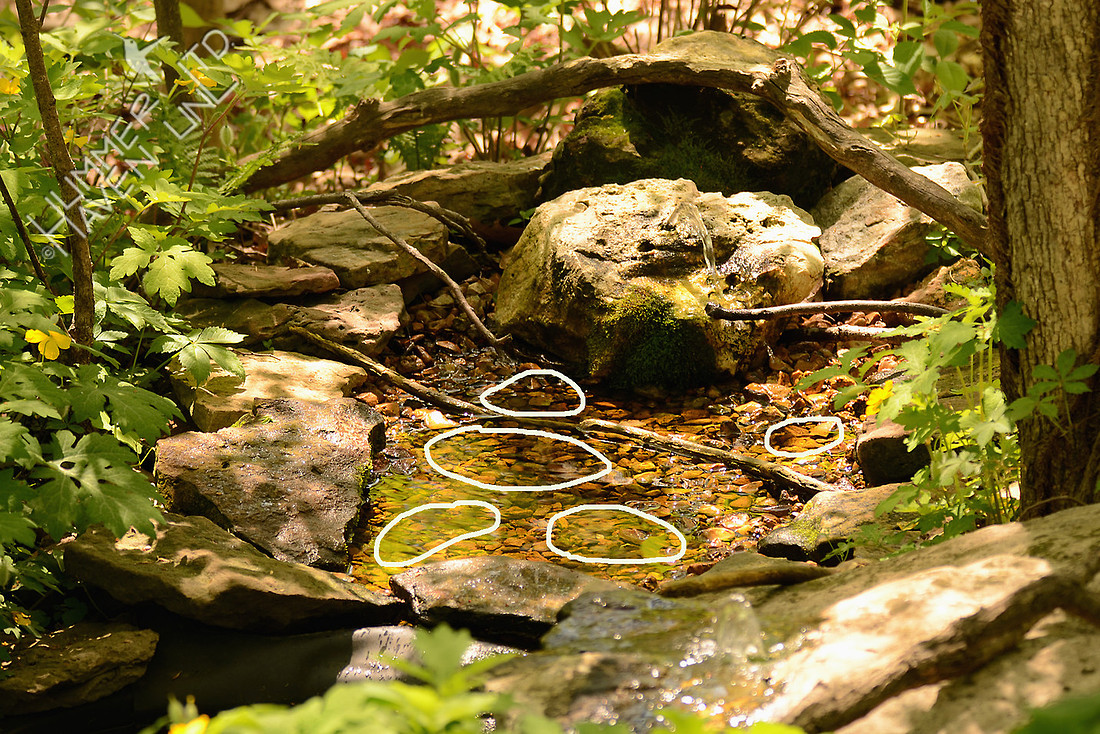
We hope this information helps you to imagine and plan for a Bubbler in your own shady setting. You could easily simplify and have a basin area like this recirculating into a pond and not worry about finding a large boulder. Check local pond suppliers or hardware stores for tubing, gravel and other components.
We believe that our continued efforts to restore our habitat with native plants has increased the attractiveness of our yard to the birds. Native plants provide shelter, attract the insects the birds feed upon and provide nesting places. Once fresh, moving water is added, how can the birds resist! "If you build it, they will come!" At this point in sixteen years, I have recorded 116 species plus one hybrid warbler at the Bubbler.
Here are a few helpful links:
MacCourt Pre-formed Pond Products:
http://www.maccourt.com/products/ponds.html
MacCourt Pond Installation:
http://www.maccourt.com/products/ponds_install.html
Note: People often want a pond for fish and plants and six hours of sun is needed for that purpose. However, that is not our intent with a Bubbler Pond. We have had fish in the past, but this pond is too small to provide caves and hiding places for the fish to escape mink and raccoons.
Lowe's comparison of pumps of two different sizes:
A simple Pond Filter example:
http://www.homedepot.com/p/Total-Pond-Universal-Pump-Filter-Box-MF13010/202278958
The heater or Floating Pond De-Icer that we use is this one:
Be sure to look at the post next Tuesday on the Pondless Bubbler design and installation. There will be links to videos to watch with that one and they may help in visualizing how to build a basin area or drill the hole in the Bubbler rock, for example. We wish you success in your own project to benefit our native birds!